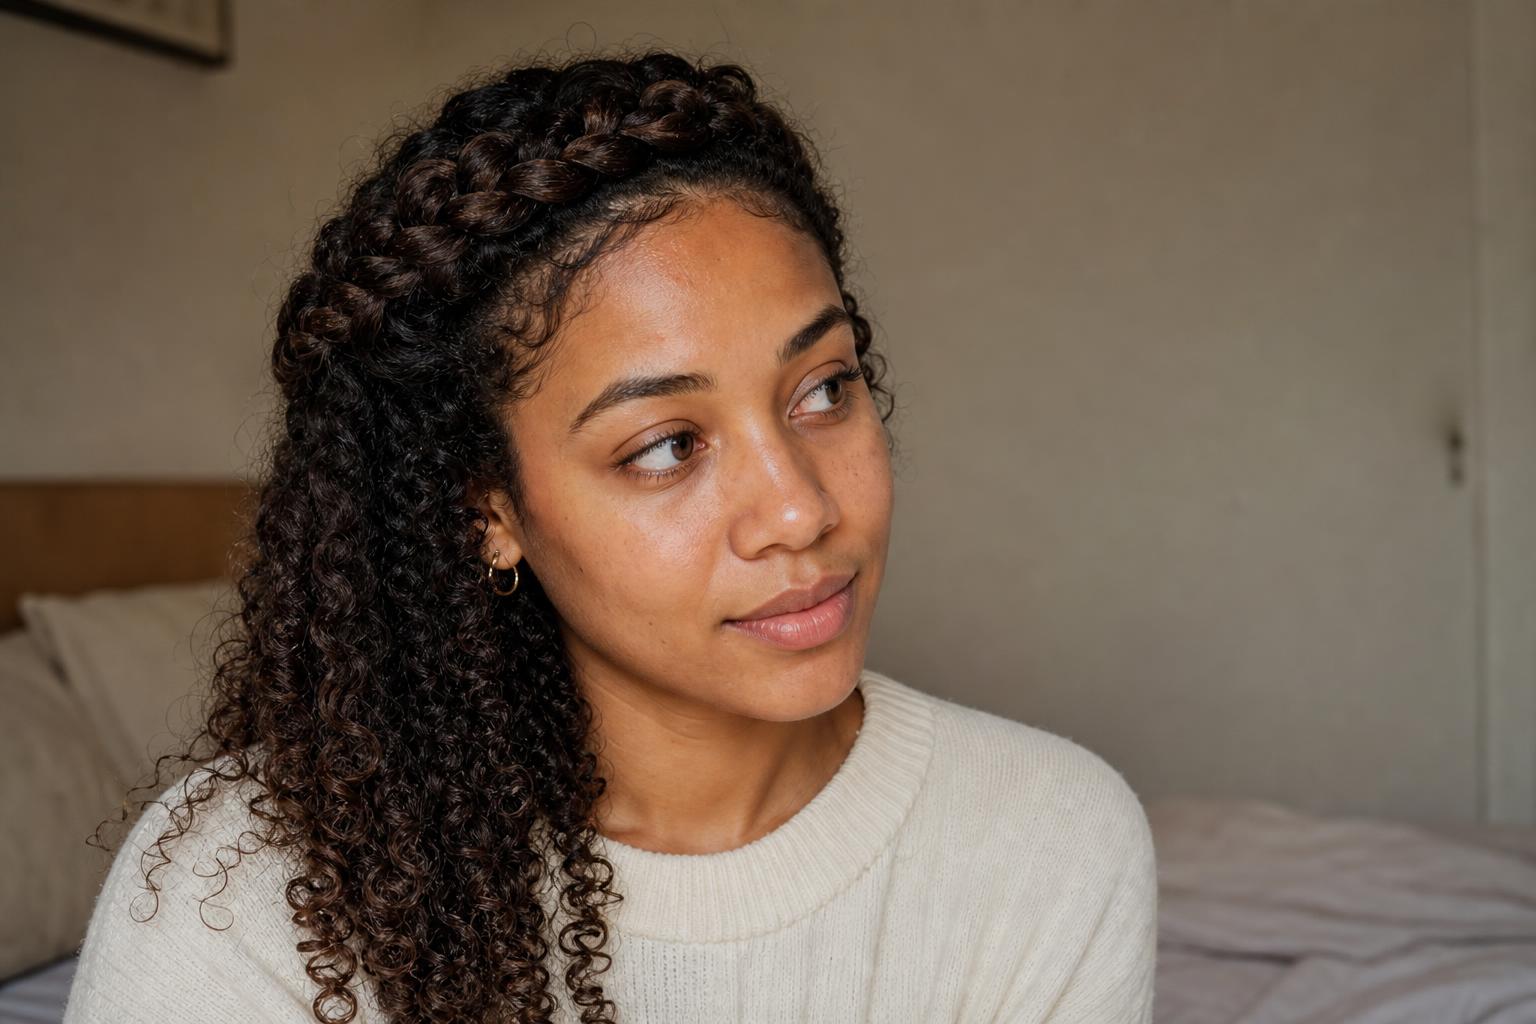
Crown braids look stunning on curly hair, but the technique requires a different approach than what works on straight textures. If you’ve struggled with braids that won’t stay put, feel too tight, or don’t showcase your natural volume, this tutorial will walk you through every step of creating a crown braid that works specifically for waves, curls, and coils.
What Makes Crown Braiding Different on Curly Hair
Why texture changes the technique
Curly hair behaves fundamentally differently in a braid than straight hair does. The natural bends, twists, and coils in textured hair create friction that can actually help braids hold better, but they also mean you need to account for shrinkage, volume, and varying strand thickness. Straight hair tutorials often emphasize sleekness and uniform tension, while curly hair needs a looser hand to maintain definition and avoid breakage.
When you braid curly hair, you’re working with strands that naturally want to clump together. This is actually an advantage once you understand it. Rather than fighting your curl pattern to create a perfectly smooth braid, you’ll get better results by working with your texture. This means less brushing, gentler tension, and accepting that your braid will have beautiful, organic texture rather than looking slicked down.
Best curl types for crown braids
Crown braids work beautifully across all curl types, though the approach varies. For hairstyle ideas for 3A curls, you’ll find that loose waves create romantic, soft crown braids with plenty of face-framing pieces. The looser your curl pattern, the more similar your technique will be to conventional braiding methods, though you’ll still want to preserve some texture rather than brushing it completely smooth.
Medium to tight curl patterns (3B through 4B) create crown braids with incredible dimension and staying power. The natural coil structure means your braid won’t slip or come undone as easily, and you can create fuller, more dramatic styles. For styling ideas for 4A curls and tighter textures, you may want to work with slightly damp hair stretched from a previous style rather than freshly washed, shrunk hair.
Very tight coils (4C) hold crown braids exceptionally well but benefit from pre-stretching. Many people with this texture find success doing a crown braid on hair that’s been in twists or braids overnight, creating length and manageability while maintaining moisture.
When to do it: wet vs. dry hair
The wet versus dry debate matters more for curly hair than straight hair. Braiding soaking wet curls can lead to breakage and an uncomfortably tight result once your hair dries and contracts. However, bone-dry curly hair can be fragile and difficult to manipulate without excessive tension.
The sweet spot for most curl types is damp hair, about 50 to 70 percent dry. Your curls should still feel slightly cool to the touch and pliable, but not dripping. This gives you enough moisture to work with while avoiding the extreme shrinkage that happens as soaking wet curls dry in a braid. Some people prefer working with day-old styled hair that’s been refreshed with a water spray bottle, which provides the perfect amount of moisture and stretch.
Preparing Your Curls for a Crown Braid
Washing and conditioning for braid-ready texture
Start with clean, well-conditioned hair. Crown braids look best and last longest when your hair has enough moisture to be flexible but not so much slip that sections won’t stay put. Use your regular shampoo and follow with a rinse-out conditioner, but consider skipping heavy oils or butter-based deep conditioners right before braiding, as they can make hair too slippery to grip properly.
After rinsing, gently squeeze excess water from your hair with a microfiber towel or t-shirt. Don’t rough-dry or disturb your curl pattern excessively at this stage. You want your curls defined enough to work with but not so set that you can’t manipulate them. This is the perfect time to apply a moisturizing leave-in product that will keep your hair hydrated throughout the braiding process and help the style last.
Detangling without disrupting your curl pattern
Proper detangling makes the difference between a smooth braiding experience and a frustrating one. Start detangling in the shower while conditioner is still in your hair, using your fingers to gently separate any major knots. After rinsing, you can use the right brush for detangling if your hair responds well to brushing, but many curlies find that finger-detangling or using a wide-tooth comb preserves their curl definition better.
Work in sections, starting from the ends and gradually moving toward your roots. Never start detangling at the crown and pull down, as this pushes tangles together and can cause breakage. If you encounter resistance, apply a bit more leave-in conditioner or detangling spray to that section. The goal is to remove tangles while keeping your natural curl clumps as intact as possible.
According to braiding techniques for textured hair, taking your time with this step prevents mid-braid snags that can disrupt your pattern and create frizz.
Products that help braids hold (and what to avoid)
The right products create hold without stiffness. A lightweight styling mousse applied to damp hair gives braids structure and helps control flyaways without the crunch that gels can create. Mousse also doesn’t weigh down curly hair the way heavy creams might, which is important when you’re asking your braid to support itself around your head.
Avoid heavy oils, silicone serums, and butter-based products right before braiding. While these are wonderful for moisturizing and sealing, they create too much slip for secure braiding. Save these products for after you’ve created and set your crown braid, when you can use a small amount to smooth any frizz or add shine.
A light-hold hairspray can be helpful, but wait until after your braid is complete to apply it. Spraying while you braid can make hair sticky and difficult to work with. Some people also like using a small amount of edge control or styling gel specifically on their hairline to tame baby hairs and create a cleaner finish.
Step-by-Step Crown Braid Tutorial
Sectioning: creating your starting point
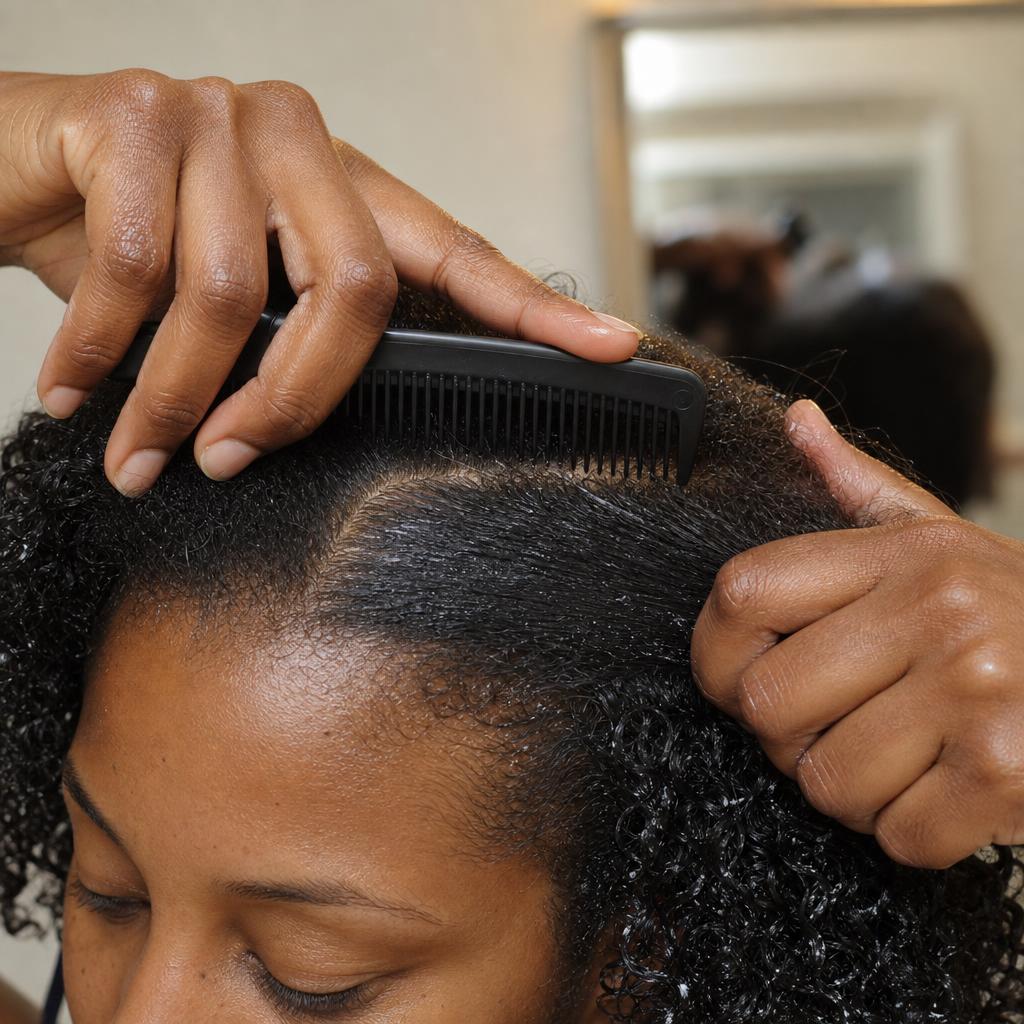
Begin by deciding which side you want your braid to start on. Most people find it easier to start on their dominant side (right side if you’re right-handed, left if you’re left-handed). Use a rat-tail comb or your fingers to create a deep side part, extending from your hairline all the way back to the nape of your neck. This part will guide your braid’s path around your head.
On the side where you’ll begin braiding, section off a triangular piece of hair right at your temple, about two to three inches back from your hairline. This will be your starting section. The size of this section determines how thick your braid will be, so consider your hair’s density and the look you want. Thicker starting sections create bold, dramatic braids, while thinner sections give a more delicate, intricate appearance.
Pin or clip the rest of your hair out of the way temporarily. You’ll be adding to your braid as you work around your head, but starting with a clear, defined section makes the process much easier.
The braiding technique for textured hair
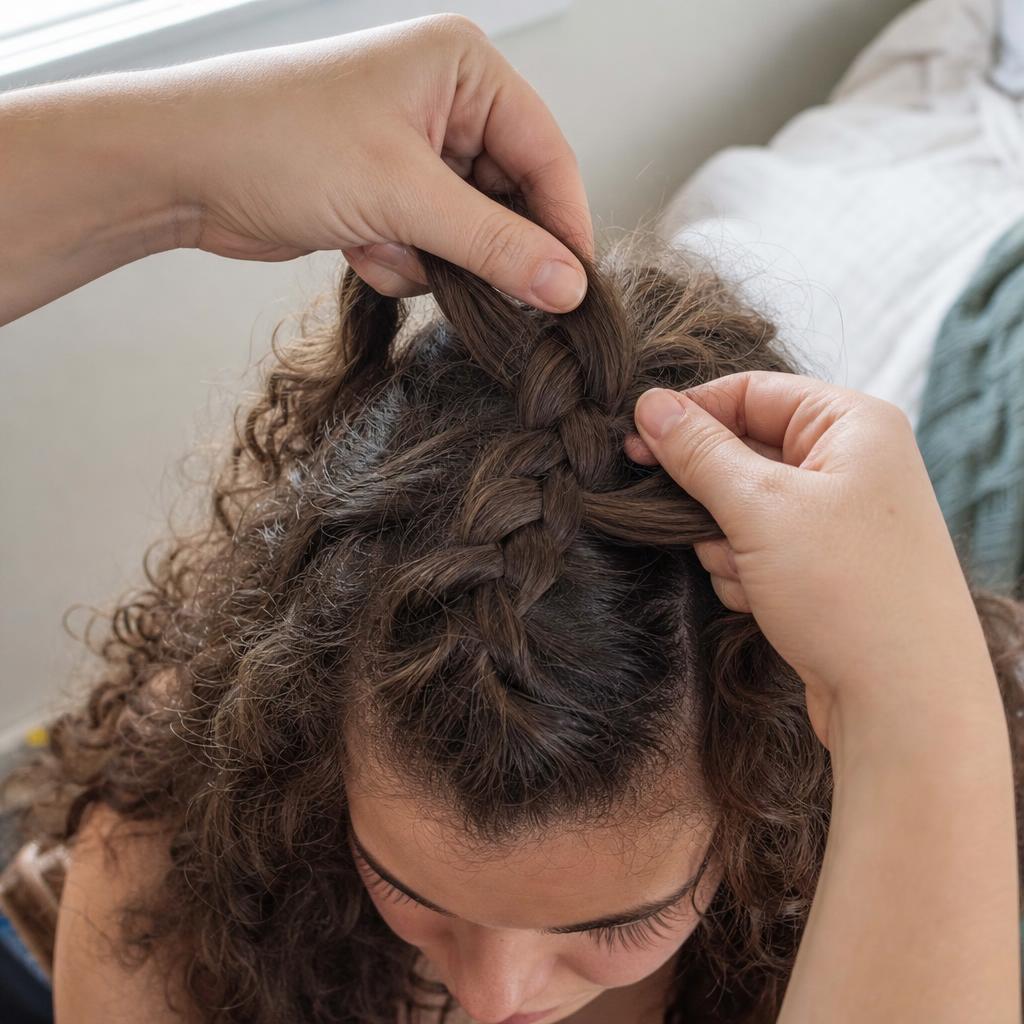
Divide your starting section into three equal parts. Begin with a standard three-strand braid for the first stitch: cross the right strand over the middle strand, then cross the left strand over the new middle strand. This establishes your braid foundation. Now you’ll transition to a French braid (or Dutch braid if you prefer the raised look) by adding hair as you go.
Before each stitch, pick up a small section of hair from along your hairline and add it to the strand you’re about to cross over. Keep your sections relatively small and consistent, about a half-inch to one inch of new hair with each addition. The key difference for curly hair is tension: keep it firm enough that your braid holds its shape, but not so tight that you’re pulling or stretching your curls unnaturally. You should be able to fit a finger between your braid and your scalp comfortably.
Continue braiding along your hairline, curving around your head like a halo. As you work toward the back of your head and around to the opposite side, you may need to adjust your arm position. Many people find it helpful to braid the first half, then move to sit in front of a mirror for the second half when you’re working on the side you can’t see as easily. Understanding basic braiding fundamentals helps you maintain even tension and consistent sections throughout.
Securing the braid and hiding the ends
Once you’ve incorporated all the hair around your hairline, you’ll have a traditional three-strand braid hanging down, typically near where you started. Continue this braid for a few more inches, then secure the end with a clear elastic band that matches your hair color. Small, snag-free elastics work best and are less visible in the final style.
Now comes the finishing touch: you need to hide this tail and secure it so your crown braid looks seamless. Gently pull the braid tail up and tuck it underneath the crown braid near where it naturally wants to curve. Use bobby pins that match your hair color to secure it in place. Insert the pins with the wavy side down against your scalp for the strongest hold, and angle them so they catch both the tail you’re tucking and the established braid above it.
Use two to four pins to make sure everything feels secure. Test by gently tugging on your crown braid, it should feel stable without any sections that might slip out. If your hair is very long or thick, you might need to coil the tail slightly before tucking it, which creates a little bun effect that adds nice dimension.
Adjusting for volume and face shape
This is where you can customize your crown braid to flatter your features. Gently tug on the outer edge of your braid in strategic places to create more volume and a softer, more romantic look. This technique, called pancaking, works beautifully on curly hair because your natural texture gives the loosened sections wonderful dimension.
For round face shapes, focus on creating height at the crown by pulling the braid slightly looser at the top of your head. For longer face shapes, keep the braid closer to your head at the crown and add more width at the temples. If you have a heart-shaped face, pull out a few face-framing pieces before you start braiding, these soften the look around your forehead and draw attention to your eyes.
Most curly-haired people look best with a slightly loosened, textured crown braid rather than a tight, smooth one. Don’t be afraid to let some curl definition show through in your braid. This is also an excellent time to explore other styles for long curly hair that complement your face shape.
Troubleshooting Common Crown Braid Challenges
Managing flyaways and frizz along the braid
Curly hair naturally has more texture and movement, so some flyaways are normal and actually add to the romantic aesthetic of a crown braid. However, if you want more polish, wait until your braid is completely finished, then lightly mist your hands with hairspray and smooth them over the braid’s surface. This tames frizz without creating crunchiness.
For stubborn flyaways at your hairline, use a small amount of gel or edge control on a clean toothbrush or edge brush. Gently brush the baby hairs down in the direction you want them to lay, then set with a light mist of hairspray. Avoid over-applying product, which can make these fine hairs look greasy or create flaking.
If you’re experiencing excessive frizz throughout your braid, your hair might have been too dry when you started. Next time, make sure you’re working with properly moisturized, slightly damp hair, and consider applying mousse before you begin braiding for better hold and definition.
What to do when braids feel too tight or too loose
If your crown braid feels uncomfortably tight, especially at the hairline, it’s important to address this immediately. Tight braids can cause traction alopecia over time and are simply uncomfortable. Carefully remove some of your bobby pins and gently tug on sections of the braid to loosen them slightly. You can also massage your scalp around the braid to relieve tension.
For braids that feel too loose or start slipping throughout the day, the issue usually lies in your sectioning or product choice. Hair that’s too clean or has too much conditioner can be slippery. If you’re midway through and noticing looseness, try adding a tiny amount of mousse or light gel to sections before incorporating them into your braid. You can also try slightly smaller sections with each addition, which creates a tighter, more secure result.
The right tension should feel secure but not pulling. Your scalp shouldn’t ache, and you should be able to move your eyebrows naturally without feeling resistance from the braid.
Adapting the style for different curl densities
Fine, low-density curly hair benefits from slightly larger sections when building your crown braid, which prevents the braid from looking too thin or sparse. You can also create the illusion of fuller braids by really emphasizing the pancaking technique, pulling your braid wider to show more surface area. Some people with fine hair prefer starting with second or third-day curls rather than freshly washed hair, as the hair has more texture and grip.
Thick, high-density hair presents the opposite challenge. Your braid can become bulky and heavy if you take sections that are too large. Work with smaller, more manageable pieces as you add hair to your braid. You might also find it helpful to slightly stretch your curls before braiding (using a blow dryer with a diffuser on low heat) to make the hair easier to manage. This doesn’t mean straightening your curls, just elongating them slightly so they’re not at maximum shrinkage.
Medium-density hair typically handles crown braids most easily and can experiment with section sizes to find what looks best and feels most comfortable.
Making Your Crown Braid Last
Sleeping with a crown braid
Crown braids can absolutely last multiple days with proper nighttime care. The key is protecting your braid while you sleep without putting pressure on it that will distort its shape. A silk or satin bonnet works well, choose one that’s roomy enough to cover your entire braid without squashing it. If bonnets tend to slip off while you sleep, try a silk or satin pillowcase instead, which provides similar friction reduction.
Before bed, check that all your bobby pins still feel secure. Add one or two more if needed. You can also lightly mist your braid with water mixed with a little leave-in conditioner (in a spray bottle) to refresh moisture, but don’t saturate it. The goal is to maintain just enough moisture that your curls don’t become brittle overnight.
Avoid sleeping directly on your braid, especially in the first night. If you’re a side sleeper, try to position your head so the braid isn’t bearing your full weight. Many people find that crown braids actually make comfortable sleep styles because the bulk of your hair is secured and up off your neck.
Refreshing the style on day two and beyond
On day two, your crown braid might look a bit flatter or have some frizz along the edges. This is easy to refresh. First, check all bobby pins and re-secure any loose sections. Then, using a water bottle with a fine mist setting, lightly dampen any frizzy areas. You can follow up with a small amount of mousse or curl cream smoothed over these spots.
If your braid has lost volume, you can gently re-pancake sections by pulling them slightly wider. For flyaways, use the toothbrush technique mentioned earlier with a tiny amount of gel or edge control. A light layer of hairspray over everything helps set your refreshed style.
Some people find their crown braid actually looks better on day two or three once it’s had time to “settle” and your natural oils have distributed slightly. The style often becomes softer and more lived-in looking, which many people prefer to the just-finished appearance.
When to take it down and how to reset your curls
Most crown braids on curly hair stay fresh-looking for two to four days, depending on your hair type and how active you are. You’ll know it’s time to take your braid down when you notice significant frizz that won’t refresh, when your scalp feels itchy or uncomfortable, or when the braid starts to lose its shape and slip.
To remove your crown braid, start by carefully taking out all bobby pins. Then, gently unravel the braid starting from the end and working toward where you began. Use your fingers to separate the hair as you go, which helps prevent tangles. Never try to brush or comb a braid out without unraveling it first, this causes major breakage and matting.
Once your braid is completely out, you’ll notice beautiful, defined waves throughout your hair where the braid was. Many people love to wear these “braid waves” as a second style. You can refresh these waves with a bit of water and leave-in conditioner, or you can fully reset your curls by washing and styling as usual. Your hair might need some extra moisture after being in a braid, so consider using a deep conditioning treatment during your next wash.
Frequently Asked Questions
Can I do a crown braid on short curly hair?
Crown braids work best on hair that’s at least shoulder-length when stretched, but you can create modified versions on shorter hair. If your hair is too short to braid all the way around your head, try a half-crown braid that goes from one temple, around the back of your head, to the opposite temple. You can also use small sections and create a thinner braid that requires less length.
How is a crown braid different from a halo braid?
The terms are often used interchangeably, but technically a crown braid is braided directly into your hairline as you work around your head (French or Dutch braid style), while a halo braid is typically created separately and then wrapped around your head. The crown braid technique described in this tutorial is more secure and better suited for active lifestyles because it’s integrated into your hair rather than pinned on top.
Will a crown braid damage my curls or cause breakage?
When done correctly with appropriate tension, crown braids are actually a relatively low-manipulation protective style that can give your curls a break from daily styling. The key is never braiding too tightly, which can cause traction on your hairline. Make sure you’re using proper tension, keeping your hair moisturized, and not leaving the braid in for extended periods (take it down and wash your hair every few days).
My curls are different textures throughout my head, will a crown braid look uneven?
Multiple curl patterns actually add beautiful texture and dimension to crown braids. The varying textures create visual interest rather than looking uneven. If you have very straight or relaxed hair at your nape and tighter curls at your crown, you might need to adjust your braiding tension slightly in different areas, but the overall style will still look cohesive. Embrace the texture variation as part of your hair’s unique character.
Conclusion
Crown braids showcase curly hair’s natural beauty while providing a practical, elegant style that works for everything from casual weekends to special occasions. The technique might feel awkward the first time you try it, but with practice, you’ll develop a rhythm that works for your specific curl pattern and density. Remember that your crown braid doesn’t need to look like the perfectly smooth versions you might see on straight hair, the texture and dimension that comes from working with your natural curls creates something even more special.
Start practicing on a weekend when you have time and patience, and don’t be discouraged if your first attempt isn’t perfect. Even an imperfect crown braid often looks charming once you loosen it up and add some face-framing pieces. Try the technique with damp hair and your favorite styling mousse this week, adjusting the tension and section sizes until you find what feels comfortable and looks beautiful on your unique curl pattern.


