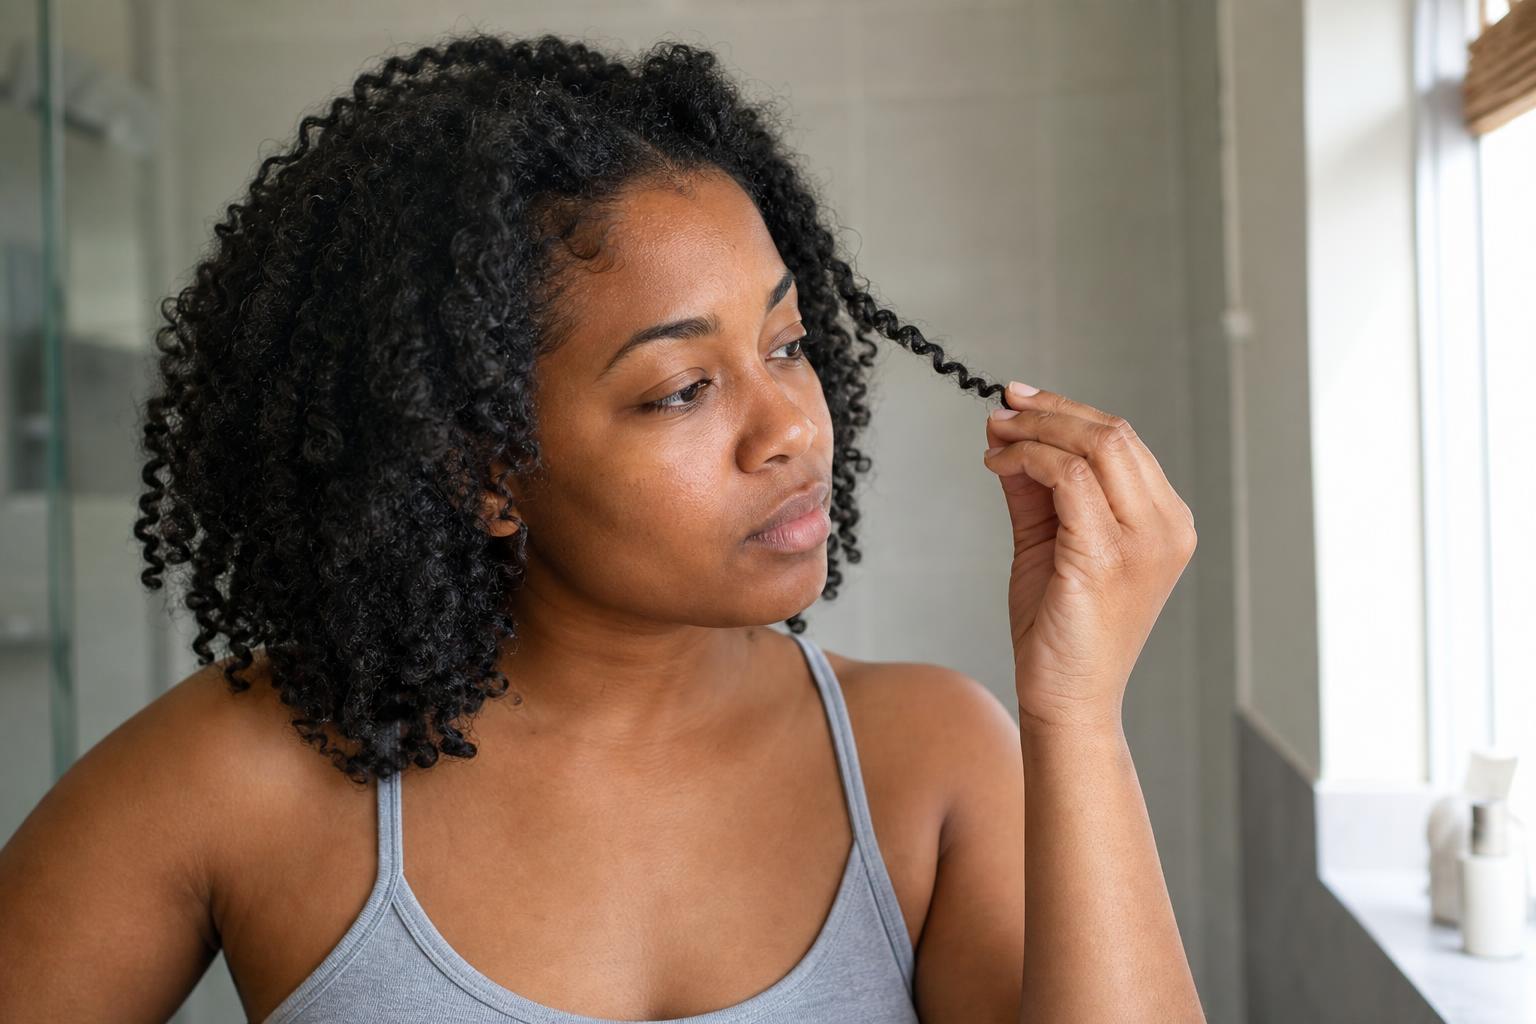
If you have type 2A hair, you know the challenge well: your waves are just subtle enough that they can look limp without the right approach, yet just textured enough that stick-straight styles feel like a battle. The good news? These fine, gentle S-waves respond beautifully to strategic cuts and styling techniques that work with your natural pattern rather than against it. Whether you’re looking for a short bob that adds body or longer layers that prevent flatness, these 15+ hairstyle ideas will help you embrace your natural texture while getting the volume and definition you’re after.
Understanding 2A Hair Before You Style
What Makes 2A Hair Unique
Type 2A hair sits at the subtle end of the wavy spectrum, with a loose S-pattern that’s most visible from the mid-lengths to ends. Unlike tighter wave patterns, 2A waves tend to be fine in texture and can easily be pulled straight by the weight of the hair itself. Your hair likely lies close to the scalp at the roots, with just enough bend to create a soft, beachy texture when styled properly.
The key characteristic that sets 2A apart is its delicate balance. These waves want to form, but they need support to do so without getting weighed down. This is why understanding caring for type 2A hair is essential before diving into specific styles. Your hair shaft is typically finer than other wave types, which means it’s more prone to damage from heat and heavy products, but it also responds quickly to the right lightweight techniques.
Most people with 2A hair notice their pattern is stronger in certain areas, often the back and underneath layers, while the top and front sections may appear straighter. This natural variation actually works in your favor when it comes to hairstyling, as it creates organic movement and prevents the “one-note” look that can happen with completely uniform texture.

Common Styling Challenges and Solutions
The primary frustration for 2A hair is the flatness factor. Because the waves are subtle and the hair is often fine, gravity easily pulls the pattern out at the roots, leaving you with volume-less lengths that can look limp by midday. Product buildup is another common culprit, as traditional curl creams and heavy gels that work beautifully on tighter patterns will collapse fine 2A waves within hours.
Frizz presents itself differently on 2A hair compared to curlier textures. Instead of an all-over halo, you’ll typically see flyaways concentrated around the hairline and random straight pieces that refuse to blend with the wave pattern. This happens because your hair’s cuticle is more susceptible to moisture imbalance, and individual strands can swing between straight and wavy depending on humidity and product application.
The solution to these challenges lies in three core principles: choosing the right cut, using lightweight products, and employing techniques that encourage the wave without adding weight. Many stylists recommend haircut recommendations for 2A texture that incorporate layers and texture-building techniques to naturally boost volume from the roots.

The Foundation: Cuts That Set You Up for Success
Your haircut does more heavy lifting for 2A waves than you might realize. The right cut creates natural lift at the crown, removes excess weight that pulls waves straight, and establishes a shape that works whether you air-dry or add minimal styling. Ask your stylist for internal layering that removes bulk without creating visible choppiness on the surface.
Long, one-length cuts can work against 2A hair by creating a triangle shape where all the weight sits at the bottom, dragging down any wave formation. Instead, look for cuts with movement built in through strategic layering, especially around the crown and through the mid-lengths. Face-framing layers are particularly effective for 2A textures because they’re lighter and more likely to hold their wave pattern.
Blunt cuts can also work beautifully for 2A hair, but only when kept at specific lengths. A chin-length or shoulder-skimming blunt cut prevents the hair from getting long enough to weigh itself down, while the clean line creates the illusion of density that fine hair often lacks. The key is regular trims every 8-10 weeks to maintain the shape and prevent straggly ends that make waves look undefined.

Short 2A Hairstyle Ideas (Chin to Shoulder)
The Textured Bob: Your Volume-Building Foundation
A textured bob is arguably the most flattering cut for 2A hair because it removes length-related weight while maximizing natural volume. The ideal length hits anywhere from chin to collarbone, with internal layers that create movement without looking choppy or disconnected. This cut works exceptionally well because your natural wave pattern has less hair to pull against, allowing the S-bend to form more pronounced curves.
To style a textured bob on 2A hair, apply a volumizing mousse to damp hair, focusing on the roots and mid-lengths. Use the scrunching method while the hair is still quite wet, then either air-dry or diffuse on low heat with your head flipped upside down for the first few minutes. The result is a tousled, effortlessly textured look that doesn’t require perfection to look polished.
The beauty of this style is its versatility. On day one, you might scrunch in product for defined waves. By day two or three, you can embrace a straighter, sleeker texture or add texture spray for a more lived-in look. For those exploring short wavy hair ideas, this bob serves as an excellent starting point that can be customized with bangs, asymmetry, or graduated lengths.

The Shaggy Lob with Piecey Layers
The shaggy lob brings back the best elements of 70s texture with a modern twist that’s perfect for 2A waves. This style typically falls between the collarbone and shoulders, with shorter layers throughout that create a deliberately undone, piecey finish. The layers are cut with a razor or point-cutting technique to soften the ends and encourage that coveted “I woke up like this” texture.
This cut is particularly forgiving for 2A hair because it’s designed to look imperfect. Those random straight pieces that frustrate you in more structured styles actually add to the overall aesthetic here. The shorter interior layers lift at the roots naturally, while the longer perimeter pieces maintain enough weight to prevent the style from looking too puffy or triangular.
Style by applying a lightweight sea salt spray to damp hair, then rough-dry with your fingers or a diffuser. The goal isn’t perfect waves but rather separated, textured pieces that move independently. You can enhance specific sections with a 1-inch curling iron if desired, wrapping hair away from your face and leaving the ends out for a more relaxed finish.

Blunt Cut with Subtle Bend
Don’t underestimate the power of a sharp, blunt cut for 2A hair. When kept at the right length (typically between chin and shoulders), a blunt cut creates the appearance of thicker, denser hair while your natural wave adds just enough movement to prevent it from looking severe or heavy. This style works best for those whose 2A pattern is consistent throughout rather than concentrated in specific sections.
The key to making a blunt cut work with fine 2A waves is the styling approach. Rather than fighting for tight curls or pin-straight hair, embrace the in-between. After washing, apply a minimal amount of lightweight styling cream to damp hair, then use a paddle brush while blow-drying to smooth the top layers while encouraging the natural bend in the lengths.
This style shines when you want a polished, put-together look that still feels relaxed and natural. It’s particularly effective for professional settings where you need to look groomed without spending an hour on your hair. The blunt line creates a strong silhouette, while the subtle wave prevents the style from reading as too severe or manicured.

Medium to Long 2A Hairstyle Ideas
Layered Cuts That Prevent Flatness
As 2A hair gets longer, strategic layering becomes non-negotiable if you want to maintain any volume or wave definition. Long layers, starting around the cheekbones or chin and extending through the lengths, remove weight where it accumulates most (the mid-lengths and ends) while preserving overall length. This approach to layered cuts for texture prevents the dreaded pyramid shape that can happen when all the hair is one length.
Request layers that are blended and soft rather than heavily textured or choppy. Your stylist should create longer layers that gradually increase in length from the interior to the perimeter, which maintains density at the ends while building volume through the crown and mid-shaft. This technique allows your natural wave to form without getting pulled out by excess weight.
For daily styling, layers give you options. You can enhance the wave with scrunching and diffusing, straighten select pieces around the face for a blended look, or add loose waves with a large-barrel curling iron that mimics and amplifies your natural pattern. The layers ensure that whatever approach you choose won’t fall completely flat within an hour of leaving the house.

Curtain Bangs and Face-Framing Waves
Curtain bangs are a match made in heaven for 2A hair because they’re designed to be imperfect and slightly undone. These bangs part down the middle (or slightly off-center) and frame the face with pieces that are longer at the temples and shorter in the center. The length and weight are light enough that they naturally hold a soft bend without requiring hot tools or heavy products.
The face-framing layers that accompany curtain bangs extend the shaping down through the cheekbones and jawline, creating a flattering frame that draws attention to your features while adding movement where 2A hair needs it most. These shorter pieces are naturally lighter and more prone to waving, which helps the overall style maintain dimension and texture.
Style curtain bangs by blow-drying them with a round brush, directing the hair away from the center part as you dry. For the face-framing pieces, you can either scrunch them with the rest of your waves or use a flat iron to create a gentle bend away from your face. This combination of straight-ish bangs and wavy lengths creates an effortlessly cool, French-girl aesthetic that works beautifully with fine 2A texture.

The Effortless Beach Wave Look
The beach wave aesthetic is what 2A hair naturally wants to do, which is why this style feels so intuitive for this texture type. Unlike tighter curl patterns that need significant product and technique to achieve beach waves, 2A hair simply needs a little encouragement and the right products to enhance what’s already there. This style works for medium to long lengths, typically past the shoulders.
To create enhanced beach waves, start with damp hair and apply a sea salt or texturizing spray from mid-lengths to ends, avoiding the roots to prevent weighing them down. Scrunch the product through in sections, then either air-dry or use a diffuser on low heat. The goal is separated, piecey waves with a matte finish rather than defined, shiny curls. According to styling techniques for loose waves, the scrunch-and-release method works particularly well for this texture.
For added dimension, you can wrap random sections around a 1 to 1.25-inch curling iron, alternating the direction you wrap and leaving the last inch or two of hair out of the barrel. This creates waves that look naturally sun-kissed and tousled rather than uniformly curled. Finish by scrunching in a small amount of texturizing paste to separate the waves and add lived-in texture.

Updos and Half-Up Styles for 2A Waves
The Textured Low Bun
A low bun showcases 2A texture beautifully because the slight wave adds visual interest and softness that straight hair can’t achieve without teasing or texturizing products. The key is to work with your natural texture rather than trying to smooth it completely, creating a bun that looks intentionally undone and romantic.
Start by enhancing your natural wave with a bit of texture spray or dry shampoo for grip, then gather hair at the nape of the neck. Instead of pulling it tightly, leave some slack for a softer, more relaxed shape. Twist the hair loosely and wrap it into a bun, securing with bobby pins. Pull out a few face-framing pieces and gently pull apart the bun to make it fuller and more textured.
This style works particularly well for second or third-day 2A hair when your waves have relaxed into a more tousled pattern and there’s natural texture and grip in the hair. You can dress it up with decorative pins or a silk scarf, or keep it simple for an everyday elevated look that takes less than five minutes.

Half-Up Twists and Clips
Half-up styles are ideal for 2A hair because they solve the root-flatness problem while showcasing the wave pattern in the lengths. A simple half-up twist or claw clip pulls hair away from the face and creates instant volume at the crown, while the remaining hair displays your natural texture. This style is particularly flattering on wavy hair styling ideas that need dimension.
For a twist variation, take sections from each side of your head at temple level, twist them toward the back, and secure with bobby pins or a small clip. Leave the twist slightly loose and messy rather than tight and sleek. The tension at the crown creates lift, while the twisted sections add visual interest that works beautifully with fine 2A waves.
Claw clips have made a major comeback and work exceptionally well for this hair type. Gather the top half of your hair (from the temples back), give it a slight twist for added volume, and secure with a medium or large claw clip. The clip instantly adds height at the crown, while the wavy lengths below create a balanced, romantic silhouette. This is a perfect option for when your roots are flat but your ends still have decent wave definition.


Loose Braids That Embrace Natural Texture
Braids on 2A hair create a soft, bohemian look that’s more relaxed than the tight, intricate braids you might see on straighter textures. The natural wave adds dimension and prevents braids from looking too sleek or severe. Try a loose side braid, fishtail, or simple three-strand braid that you gently pull apart after securing to create a fuller, more textured appearance.
The trick with braiding 2A hair is to add texture first. Spray in some dry texture spray or apply a small amount of styling paste, then rough up the hair with your fingers before braiding. This gives you grip and prevents the braid from looking too flat or sliding out. Don’t aim for perfection; the bumps and loose pieces are part of the charm.
Dutch braids (where you cross sections under rather than over) work particularly well for 2A hair because they sit on top of the head and create more visible dimension. Start with slightly damp hair that has some wave-enhancing product in it, braid in two sections down the sides or one down the center, and secure at the nape. Sleep in the braids and release in the morning for gorgeous, amplified waves that work with your natural pattern.

Styling Techniques That Enhance 2A Waves
The Right Way to Scrunch Fine Waves
Scrunching is the fundamental technique for encouraging 2A waves, but the method matters more than you might think. The mistake many people make is scrunching only at the ends or using too much product, which weighs down fine hair and prevents waves from forming at the roots where you need them most.
Start with soaking wet hair and apply your chosen lightweight mousse in sections, raking it through from roots to ends. Then, flip your head over and scrunch upward in sections, cupping the hair in your palm and gently squeezing toward the scalp. Hold each scrunch for a few seconds before releasing, which helps the wave pattern begin to form while the hair is still wet and moldable.
The key with fine 2A hair is to scrunch while the hair is still dripping wet, not just damp. The water weight actually helps define the wave pattern initially, and as it dries, the waves will lighten and lift rather than falling flat. Avoid touching the hair as it dries, and if you’re diffusing, use a low heat, low speed setting and continue to scrunch gently with the diffuser cup rather than just holding it near the hair.

Root-Lifting Methods That Actually Work
Root volume is the ongoing challenge for 2A hair, but several techniques can create lift that lasts beyond the first hour. The first is strategic product placement: apply volumizing mousse or root-lift spray directly at the scalp in sections, then use your fingers to lift the roots away from the head as you blow-dry. This sets the hair in a lifted position before the wave pattern forms in the lengths.
Diffusing upside down for the first few minutes of drying is another game-changer for 2A roots. Flip your head over completely, position the diffuser at the roots, and dry in that position until the hair is about 50 percent dry. Then flip back up and continue diffusing normally. This initial upside-down phase encourages the roots to dry in an lifted position rather than lying flat against the scalp.
Clip-drying is a technique borrowed from curlier hair types that works surprisingly well for 2A texture. Section damp hair and use small claw clips or duck-bill clips to pin the roots up and away from the scalp, creating a “tent” of lifted hair. Let the hair dry completely (or diffuse on low) with the clips in place, then remove them and gently shake out the roots. This creates lasting volume without backcombing or teasing.

Air-Dry vs. Diffuse: What Works for 2A
The air-dry versus diffuse debate depends on your specific 2A pattern, your lifestyle, and your volume goals. Air-drying is gentler on fine hair and can produce beautiful, natural-looking waves, but it often results in less volume at the roots and can take hours to fully dry. If you have time and your primary concern is minimizing heat exposure, air-drying with proper product application and scrunching can yield lovely results.
Diffusing, when done correctly on low heat and speed, can actually enhance 2A waves while adding volume that air-drying rarely achieves. The key is to use the diffuser to set the wave pattern rather than blowing it out. Position the diffuser cup around sections of scrunched hair, hold it still, and let the gentle heat dry the hair without disturbing the forming waves. Move the diffuser frequently rather than focusing heat on one area for too long.
Many people with 2A hair find a hybrid approach works best: air-dry until the hair is about 60-70 percent dry, then use the diffuser to finish drying and add targeted volume at the roots. This minimizes heat exposure while still achieving better lift and definition than air-drying alone. For those noticing their waves are getting more defined over time, exploring whether if your waves are closer to 2B might help you adjust your technique accordingly.

Products That Support 2A Hairstyles Without Weighing Down
Lightweight Mousses for Definition and Hold
Mousse is often the holy grail product for 2A hair because it provides hold and definition without the weight of creams or heavy gels. Look for volumizing mousses that are specifically formulated for fine or wavy hair, as these contain polymers that create structure while remaining lightweight. The foam consistency distributes evenly through hair, coating each strand without clumping or creating product buildup.
Apply mousse to soaking wet hair for best results, using about a golf ball-sized amount for medium-length hair (adjust for your length and density). Rake it through in sections from roots to ends, then scrunch to encourage wave formation. The mousse will feel wet and slightly crunchy as it dries, but once fully dry, you can scrunch out the crunch for soft, defined waves with lasting hold.
Avoid mousses that contain heavy oils or butters near the top of the ingredient list, as these will weigh down fine 2A hair. Instead, look for ingredients like hydrolyzed proteins (for strength without weight), aloe vera (for lightweight hydration), and flexible-hold polymers that won’t make hair stiff or crunchy. Many people find that mousse alone is sufficient for 2A styling, eliminating the need for additional leave-in products that can cause buildup.

Salt Sprays and Texturizing Products
Sea salt sprays are designed to mimic the texture-enhancing effect of ocean water, making them a natural fit for 2A beach waves. These products contain salt (usually sea salt or Epsom salt) that roughens the hair cuticle slightly, creating grip and separation that prevents fine waves from clumping together or lying flat. They also typically have a matte finish that adds to the undone, beachy aesthetic.
The key with salt sprays on fine 2A hair is moderation. Too much salt can be drying and make hair feel stiff or straw-like. Apply to damp hair for wave enhancement, or use on dry hair as a texture refresher on days two and three. Spray in sections, scrunch gently, and let air-dry or diffuse on low heat. The result is separated, piecey waves with a lived-in texture.
Texturizing sprays without salt offer similar benefits with less potential dryness. These products typically contain polymers and starches that add grip and volume while absorbing excess oil. They’re excellent for reviving flat 2A waves between washes, adding volume at the roots, or creating more defined separation in the lengths. Spray at the roots and massage in with your fingers for instant lift, or spritz through lengths and scrunch for refreshed wave definition.

When to Skip Heavy Creams and Gels
While creams and gels are staples in many curly hair routines, they’re often too heavy for fine 2A waves. Rich curl creams, which work beautifully on coarser, tighter curl patterns, will typically weigh down 2A hair and pull out the wave pattern within a few hours. The same goes for thick, heavy gels formulated for strong hold on tight curls, which can make fine waves look greasy and flat rather than defined.
If you do use a cream or gel on 2A hair, it should be specifically labeled for fine or wavy hair, and you should use a fraction of the amount recommended on the package. A pea-sized amount of lightweight curl cream or a dime-sized amount of soft-hold gel is typically sufficient for 2A hair. Apply only to the mid-lengths and ends, avoiding the roots entirely unless the product is specifically a root-lifting formula.
Many people with 2A hair find they get better results by skipping traditional curl products altogether and instead using a combination of volumizing mousse at the roots and a light texture spray through the lengths. This approach provides structure and hold without the weight that collapses fine waves. Save the creams and gels for occasions when you’re specifically trying to smooth and sleek the hair rather than enhance your natural texture.

Frequently Asked Questions
How often should I wash 2A hair for the best hairstyles?
Most people with 2A hair find that washing every 2-3 days maintains the best balance of clean roots and workable texture. Daily washing can strip fine hair of the natural oils that help waves form and hold, while going too long between washes can lead to flat, greasy roots that weigh down any wave pattern. Dry shampoo is your friend on in-between days, adding volume at the roots while absorbing oil.
Can I get layers if my 2A hair is thin or fine?
Yes, layers are actually recommended for fine 2A hair, but they should be long layers that are blended and soft rather than short, choppy layers that can make thin hair look stringy. The layers remove weight without removing density, allowing your waves to form more easily while maintaining the appearance of fullness. Discuss your concerns with your stylist so they can customize the layering approach to your specific hair thickness.
What’s the difference between 2A and 2B hair when choosing hairstyles?
Type 2A hair has a looser, more subtle S-wave that’s most visible from the mid-lengths down, while 2B hair has a more defined S-pattern that starts closer to the roots. If you’re not sure which you have, 2A hair will more easily be pulled straight by its own weight and typically requires more product and technique to maintain definition. Both types can wear similar hairstyles, but 2B hair may achieve more dramatic results with less effort on styles that rely on defined waves.
Will cutting my 2A hair short make it lose its wave?
Not necessarily. Many people find that cutting 2A hair shorter actually enhances the wave pattern because there’s less weight pulling the pattern straight. The key is getting the right cut with proper layering and texturizing. Some people do find their wave is more concentrated in certain areas, so if your waves are primarily in the back and underneath, a very short pixie might reduce visible wave, but shoulder-length bobs and lobs typically enhance 2A texture beautifully.
How do I refresh 2A waves on day two or three?
Refreshing 2A waves works best with a light texture or sea salt spray applied to the lengths while the hair is lightly misted with water from a spray bottle. Scrunch the product through, focusing on areas that have fallen flat or straight. You can also refresh volume at the roots with dry shampoo, lifting sections and spraying at the base, then massaging in with your fingers. For areas that need more help, you can re-wet small sections completely, apply a bit of mousse, and re-scrunch to reform the wave.
Conclusion
The best 2A hairstyles work with your hair’s natural subtle wave rather than fighting it. Whether you choose a short textured bob that maximizes volume, long layers that prevent flatness, or easy updos that showcase your natural texture, success comes down to the right cut, lightweight products, and techniques that enhance rather than weigh down. These fine, gentle waves are more versatile than they often get credit for, offering a beautiful middle ground between stick-straight and tightly curled that can look effortlessly polished or romantically undone depending on how you style them.
Start by evaluating your current cut and identifying whether strategic layers or a length change might better support your wave pattern. Then experiment with one or two of the styling techniques above, keeping your product routine simple and lightweight. Your next great hair day is likely just one good haircut and the right mousse away from becoming your everyday reality.