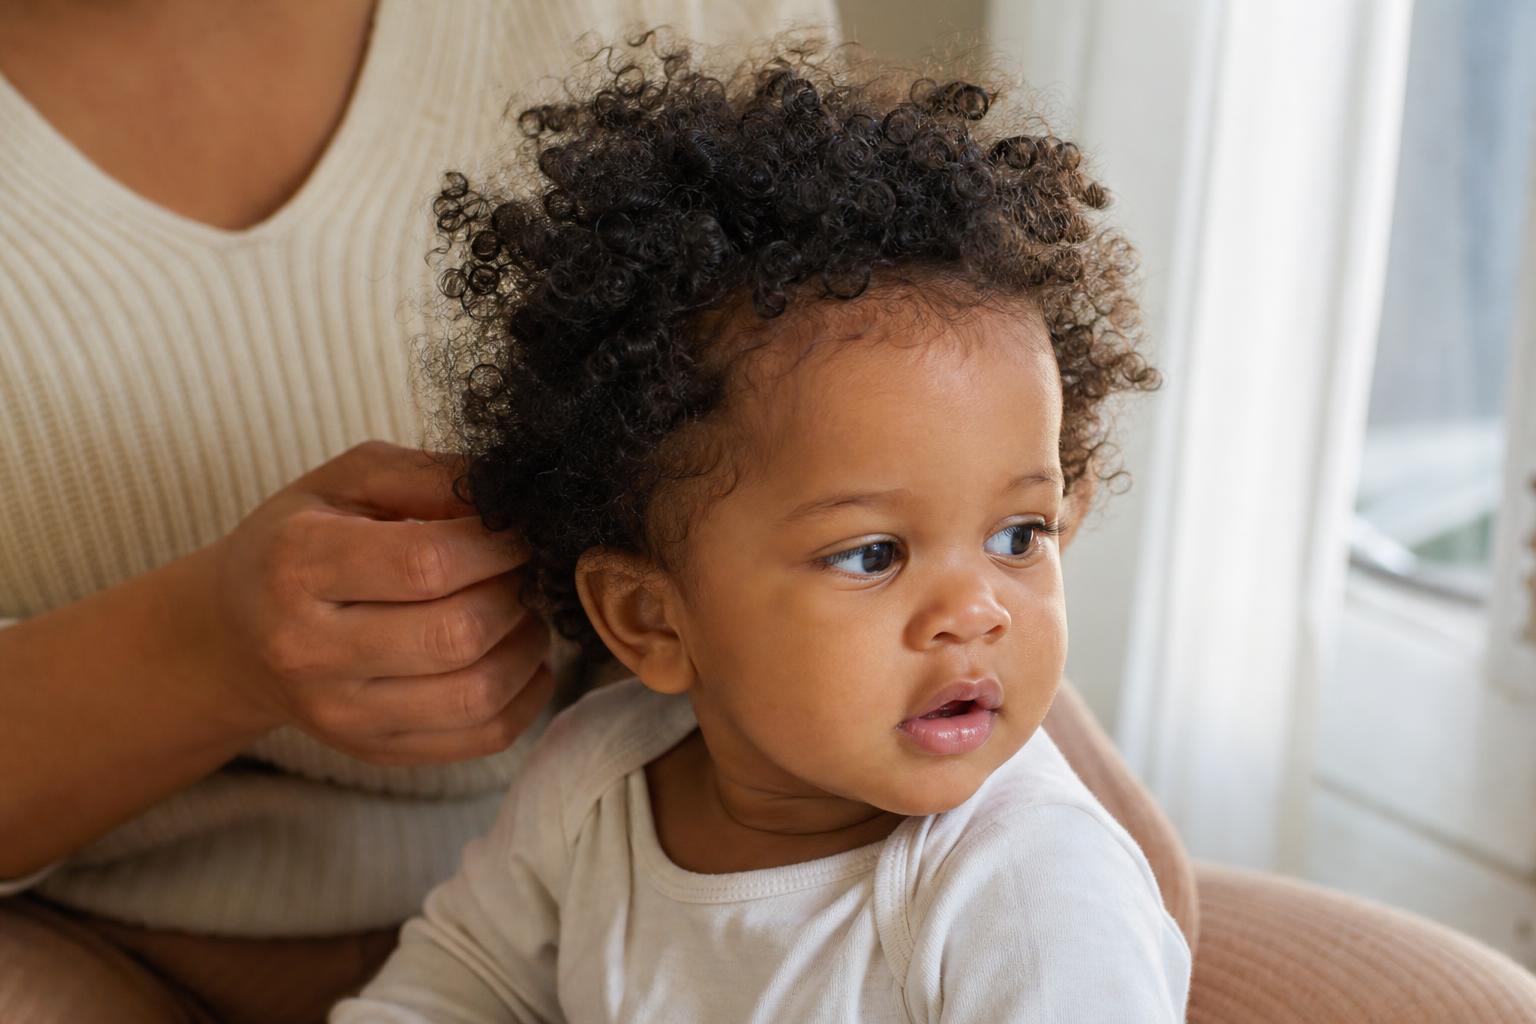
Halloween should be just as magical for curly-haired kids as it is for their straight-haired friends, but most costume hairstyle tutorials completely ignore the unique needs of textured hair. Between wigs that cause matting, accessories that snag on curls, and overnight styling disasters, parents of curly kids often feel stuck between letting their child’s natural texture shine and achieving the costume look they’re dreaming of. The good news? With the right approach, you can create stunning Halloween hairstyles that protect your child’s curls while delivering all the costume magic they want.

Why Curly Kids Need Special Halloween Considerations
How Costumes and Wigs Affect Curly Hair
Curly, wavy, and coily hair has fundamentally different structural needs than straight hair. The bends and curves in each strand make textured hair more fragile and prone to dryness. When you add a synthetic wig, tight hat, or costume headpiece into the mix, friction becomes a major issue. Unlike straight hair that slides smoothly under these accessories, curls catch, tangle, and mat against rough costume materials.
Synthetic wig caps create particular problems for curly kids. The elastic bands compress curl patterns, and the rough interior netting acts like velcro against textured hair. After just a few hours of trick-or-treating, you might find yourself facing a tangled mess that takes days to properly detangle. Even fabric costume accessories like princess crowns with built-in elastic or superhero masks with attached headbands can create breakage points where they rub against delicate curl patterns.
The moisture balance also gets disrupted. Curly hair already struggles to distribute natural oils from root to tip because of its spiral shape. When you trap that hair under a wig or hat for several hours, you create a humid environment at the scalp while the hair itself dries out from friction and lack of moisture refresh. This combination can lead to both greasy roots and parched ends by the time Halloween night wraps up.

Common Halloween Hair Mistakes Parents Make
Many well-meaning parents approach Halloween hair the same way they would for a child with straight hair, and that’s where problems start. Using regular drugstore hairspray to “set” a style might work temporarily, but it leaves curly hair crunchy, stripped of moisture, and nearly impossible to refresh the next day. The alcohol in these products pulls even more hydration out of already-thirsty curls.
Another frequent misstep is assuming caring for wavy hair or curly hair under a wig doesn’t matter because “no one will see it anyway.” Actually, what you do with the hair underneath determines whether you’ll spend the next week dealing with breakage and tangles. Leaving curls loose and unsecured under a wig cap creates maximum friction. Similarly, trying to brush out textured hair when dry, especially understanding 4A texture or coilier patterns, causes unnecessary breakage and frizz.
Parents also tend to underestimate how much prep time curly hair needs. Attempting to create an elaborate Halloween hairstyle on the morning of October 31st, when curls haven’t been properly washed, conditioned, or detangled in advance, sets everyone up for tears and frustration. Curly hair generally needs to be styled while damp with the right products, then allowed adequate time to dry. There’s simply no rushing a proper curl routine, even for costume purposes.

The Protective Styling Approach to Halloween
The smartest Halloween hair strategy treats the costume styling as you would any protective style. This means securing the hair in a way that minimizes manipulation, reduces friction, and maintains moisture throughout the evening. Instead of fighting against your child’s natural texture, you work with it by creating a smooth, protected base that can handle costume accessories without damage.
Protective styling for Halloween doesn’t mean your child can’t have fun, creative looks. It means thinking strategically about which parts of the style do the heavy lifting. For example, you might create sleek flat twists or braids as the base (which protect the hair shaft), then add all the colorful, sparkly, spooky accessories on top of that secure foundation. The accessories provide the visual impact while the underlying protective style does the important work of keeping hair healthy.
This approach also makes costume changes easier if your child wants different looks for school parties versus neighborhood trick-or-treating. When the base protective style stays intact, you can swap out accessories, add or remove a wig, or change the overall vibe without re-manipulating the hair multiple times in one day.

Prep Your Curly Kid’s Hair for Halloween Success
The Night-Before Wash and Condition Routine
Halloween Eve is actually more important than Halloween Day when it comes to curly hair preparation. Start with a thorough cleanse using a sulfate-free shampoo that removes any buildup from previous products without stripping natural oils. Focus the shampoo on the scalp where oil and dirt accumulate, and let the suds rinse through the length of the hair rather than scrubbing the delicate ends.
Follow with a generous application of moisturizing conditioner, concentrating on the mid-lengths and ends where curly hair tends to be driest. This is the time to gently detangle using your fingers or gentle brushing tools while the hair is saturated with slippery conditioner. Work in small sections from ends to roots, never forcing through knots. For tighter curl patterns, consider a deep conditioning treatment instead of regular conditioner. Let it sit for 10-15 minutes while your child is in the bath to maximize moisture absorption.
After rinsing thoroughly, apply a protective leave-in conditioner to damp hair. This creates a moisture seal that will last through the next day’s activities. If your Halloween plan involves a protective style like braids or twists, this is the time to create it while the hair is still damp and pliable. If you’re planning a wash-and-go style with accessories, use your regular styling products and diffuse or air-dry completely before bed. Never let your child sleep on wet curls unless they’re in a protective style, as the friction against the pillow creates frizz and disrupts the curl pattern.
Morning-Of Refresh Techniques by Curl Type
On Halloween morning, your refresh approach depends entirely on your child’s curl pattern and what you did the night before. For wavy kids with types 2A-2C, a light mist of water mixed with a tiny amount of leave-in conditioner can reactivate the curl pattern. Scrunch gently and let air dry for 10-15 minutes, or use a diffuser on low heat if you’re short on time. Avoid touching the hair too much during this process, as wavy patterns are easily disrupted into frizz.
Children with curly patterns (types 3A-3C) often wake up with flattened sections or frizz halos. Mix a refresh spray of water, leave-in conditioner, and a small amount of curl-defining mousse in a spray bottle. Lightly mist the affected areas, then use praying hands or scrunching motions to reshape the curls. For more structured curly style inspiration, you might need to re-wet and restyle specific sections, but try to limit this to only the areas that really need it rather than redoing the entire head.
Kids with coily hair (types 4A-4C) benefit most from protective overnight styling, so morning refresh should be minimal if you planned ahead. If needed, apply a small amount of curl cream or oil to your hands, rub them together, then smooth over any fuzzy areas without disturbing the underlying style. For loose coily styles, you can lightly spritz with water and oil mixture, then carefully reshape sections. The key with coily textures is avoiding excessive water on Halloween morning since these patterns take longest to dry and you don’t want damp hair under costume accessories.
Creating a Protective Base Under Wigs and Hats
If your child’s costume requires a wig or hat, the foundation you create underneath is critical. For shorter hair or looser curl patterns, flat braids or cornrows create the smoothest base. Part the hair into four to six sections and braid each one flat against the head, securing the ends with small elastics covered in fabric or silicone (never bare rubber bands that can catch and break curls). This creates a level surface that prevents lumps under the wig while keeping every strand secured and protected.
For longer or thicker curly and coily hair, the two-braid method works beautifully. Part the hair down the middle, create two sections, and braid or twist each one. Then wrap these braids in flat spirals against the head, pinning them securely with bobby pins that have coated tips (not sharp metal ends). This creates a compact base that distributes the hair’s volume evenly rather than creating a lumpy ponytail bump.
Before putting on any wig cap, apply a thin layer of oil or anti-friction serum along the hairline and any exposed hair. Then use a silk or satin wig cap, never a rough nylon one. These smoother materials reduce friction dramatically. If you can only find nylon wig caps at the costume store, put a small silk or satin scarf underneath it first as a barrier layer. Some parents even cut the feet off satin knee-high stockings to use as makeshift wig caps in a pinch. These small details make an enormous difference in preventing tangles and breakage during those hours of trick-or-treating.

Easy Halloween Hairstyles for Wavy Kids (Types 2A-2C)
The Spooky Curled Pigtails (Mad Scientist, Witch)
Wavy hair has just enough natural bend to create perfectly chaotic pigtails without heat styling. Start by parting the hair down the middle or at a dramatic zigzag (use the end of a rattail comb to create the uneven parting). Secure each section into a ponytail at whatever height works for your costume, slightly loose ponytails at ear level work great for a mad scientist, while high ones suit a witch better.
Apply a small amount of curl-enhancing cream to each ponytail, then twist the entire ponytail around your finger in small sections to encourage the waves into more defined spirals. For extra drama, you can carefully wrap small sections around a flexible rod or even a pencil, hold for 30 seconds, then release. The natural wave pattern will spring into exaggerated ringlets that look intentionally wild and costume-perfect. Finish with a light-hold hairspray (just a touch) and add themed accessories like plastic spiders, small potion bottles on clips, or a tiny witch hat pinned to one side.
The beauty of this style for type 2A hairstyle options is that it celebrates the natural texture rather than fighting it. Wavy hair often looks its best with a slightly undone, organic quality anyway, which is exactly what most spooky costumes call for. If a few pieces fall out of the ponytails during the evening, it just adds to the deliberately messy costume aesthetic.

Beachy Wave Crown for Mermaid or Princess Costumes
For elegant costume characters, wavy hair shines when you enhance its natural flow. After your morning refresh, create a deep side part for extra drama. Take a small section of hair from the heavy side of the part, just above the ear, and begin a loose Dutch braid (where you cross sections under rather than over) that curves around the head like a crown. You don’t need tight, perfect braiding; slightly loose and romantic works better for this look.
Continue the braid around the back of the head, incorporating small sections as you go, until you reach the opposite ear. Secure with a clear elastic, then gently pull on the edges of the braid to make it fuller and softer. Let the rest of the waves flow naturally over the shoulders. The contrast between the structured crown braid and the loose waves creates a beautiful princess or mermaid effect.
Accessorize according to the costume: tiny pearl pins for a mermaid, a delicate crown positioned just behind the braid for a princess, or even small flowers tucked into the braid itself. This style works wonderfully for wavy kids because it requires minimal product and heat (none, actually), and the natural wave texture provides exactly the flowing, ethereal quality these costumes need. Plus, the crown braid keeps hair out of your child’s face during active trick-or-treating without looking too sporty or casual for the costume.

Crimped Texture for ’80s or Rockstar Looks
Wavy-haired kids have a secret advantage for retro costume looks: their natural texture is already halfway to that coveted ’80s volume. Instead of using a crimping iron (which can damage developing hair), work with the waves you already have. Apply a volumizing mousse to damp hair, then dry with a diffuser while scrunching repeatedly to maximize the bend in each wave.
Once completely dry, carefully separate larger wave clumps into smaller, finer pieces by gently pulling them apart with your fingers. This creates that signature ’80s texture without heat damage. For extra volume at the roots, tease very lightly at the crown using a fine-tooth comb, lifting small sections and backcombing gently, then smoothing the top layer over the teased area.
Add costume-specific accessories like neon scrunchies, zigzag headbands, or temporary hair color spray in electric colors. A small side ponytail with a big bow captures that ’80s spirit perfectly. For rockstar costumes, bandanas tied around the head or dramatic hair clips shaped like lightning bolts complete the look. The goal is to take the natural wave pattern and exaggerate it into that deliberately big, textured style that defined the era, all without subjecting young hair to damaging heat tools.

Fun Costume Styles for Curly Kids (Types 3A-3C)
High Puff with Decorative Accessories
The high puff is the superhero of curly kid hairstyles because it’s quick, protective, and endlessly customizable for different costumes. Start by smoothing the hair back with a curl cream or gel, using a soft-bristle brush or just your hands depending on how defined you want the base. Gather all the hair at the crown and secure it with a fabric-covered elastic, making sure not to pull too tight (you want the hair secured but not stressed).
The puff itself can be shaped according to the costume. For a princess or fairy, fluff it out into a rounded, cloud-like shape. For a superhero, you might create a more structured, upward-pointing puff that suggests power and energy. For animal costumes, the puff can mimic ears when positioned correctly. Apply a light oil or anti-frizz serum to your hands and gently smooth over the puff to reduce any flyaways while maintaining the volume.
This is where accessories make or break the costume. Glittery headbands, themed character ears that attach right in front of the puff, decorative pins shaped like bats or stars, or even a small crown positioned at the base of the puff can transform this simple style into a complete costume look. For protective styling options, the high puff is ideal because it keeps the hair secured and minimizes manipulation while still showcasing the beautiful natural texture. Kids can run, play, and collect candy without the style falling apart or hair getting in their face.

Twisted Space Buns for Galaxy or Superhero Costumes
Space buns are enormously popular for kids’ costumes, and curly hair creates the best version of this style. Part the hair down the middle, creating two equal sections. Working with one side at a time, divide the section into two smaller pieces and twist them around each other from root to end. As you twist, the hair will naturally want to coil up on itself.
Guide that coiling motion into a bun shape at whatever position works for your costume (high on the head for Princess Leia-style space buns, lower and to the sides for a more whimsical fairy look). Secure the twisted bun with bobby pins, making sure to catch the twists securely without pulling too tight on the hair. Repeat on the other side, trying to match the size and position of the first bun.
The natural volume and texture of curly hair means these buns look full and impressive without any need for padding or faking volume. For galaxy or space costumes, you can add glitter spray, temporary color in cosmic shades like purple or blue, or even small glow-in-the-dark stars pinned throughout. For superhero looks, keep them sleek and structured. This style is also excellent for long trick-or-treating sessions because it keeps all the hair up and secure, preventing tangles from wind or costume friction, while looking intentionally styled rather than merely pulled back.

Side-Swept Curls for Elegant Character Looks
When your curly kid wants to dress as a formal character like a historical figure, movie star, or elegant villain, side-swept curls deliver sophistication while celebrating their natural texture. Create a dramatic deep side part, positioning it much farther to one side than you normally would. Apply a hold product for kids’ curls to damp hair, then scrunch and allow to dry completely to maximize definition.
Once dry, sweep all the hair from the lighter side of the part over to the heavy side, positioning it to drape over one shoulder. Secure it in place with several decorative bobby pins on the light side, creating a line of pins from the part down toward the ear. These pins should be part of the look, not hidden, so choose ones that match the costume: sparkly for a glamorous character, dark and ornate for a villain, or vintage-style for a historical costume.
The curls cascading over one shoulder create an asymmetrical, dramatic silhouette that photographs beautifully and feels very grown-up and special for kids who want an elegant costume look. You can enhance this further with a decorative hair comb positioned at the crown on the heavy side, or a themed barrette where the hair sweeps across. The style keeps hair controlled and out of the face while maintaining all the gorgeous curl definition that makes textured hair special. For extra security during active play, you can create a loose braid in the swept-over section, then gently pull it apart to create a fuller, softer braid that maintains the elegant aesthetic.

Protective Halloween Styles for Coily Kids (Types 4A-4C)
Flat Twists into Crown or Character Shapes
Flat twists are incredibly versatile for creating costume-specific shapes directly in the hair. Unlike French braids that can look generic, you can manipulate flat twists into patterns that enhance the costume theme. For a queen or princess, create flat twists that curve around the head in a crown pattern. Start at one temple, twist along the hairline to the other temple, then continue around the back of the head to complete the circle.
For more creative costumes, you can design flat twists into specific shapes. Two twists that curve into spiral shapes on either side of the head suggest ram horns for a devil costume. Straight-back flat twists that converge into a single point at the crown create a sleek, futuristic look for robots or space characters. Multiple small flat twists radiating out from a center point can mimic sun rays for a sunshine costume or lion’s mane.
The process is simple but requires planning: section the hair according to your desired pattern, apply a curl cream or twisting butter to each section for hold and definition, then create each flat twist by taking small amounts of hair from either side as you twist along the scalp. Secure the ends with small elastics. These styles can be created the night before Halloween and will last through all the festivities. For extra costume integration, weave thin ribbons, colored yarn, or metallic thread through the twists in colors that match the outfit. This transforms a protective style into a statement costume element.

Puff with Headband for Quick Costume Integration
For busy Halloween mornings or last-minute costume decisions, the headband puff is unbeatable. Pull all the hair back into a high or mid-height ponytail using a satin scrunchie or fabric-covered elastic. Don’t comb or brush the puff itself; instead, use your fingers to gently shape it and arrange the coils in a rounded formation that showcases the natural texture.
The magic happens with the headband selection. A themed headband instantly transforms a simple puff into a costume-ready style. Cat ear headbands, devil horns, unicorn horns, tiaras, character-specific accessories… all of these sit perfectly in front of a puff and create an immediate costume connection. The headband also serves the practical purpose of controlling any edges or baby hairs along the hairline.
For children with coily hair styling needs, this approach respects the hair’s need for minimal manipulation while still creating a fun, festive look. You can adjust the puff’s position and size based on where the headband accessory needs to sit. A unicorn horn headband looks best with the puff positioned slightly behind it, while cat ears might work better with a lower puff that doesn’t compete for space. Apply a light oil or edge control around the hairline for a polished finish, and your costume hairstyle is complete in under five minutes.

Mini Twist-Out Mohawk for Edgy Characters
For kids dressing as rockstars, punks, superheroes, or any character with an edgy vibe, the twist-out mohawk delivers impressive visual impact while being completely protective. This style requires advance planning since the twists need time to set. The night before Halloween (or even two nights before for maximum definition), create two-strand twists throughout the hair, making them slightly smaller than you normally would for better definition in the final style.
On Halloween morning, carefully unravel each twist, separating it into two or three smaller sections as you untwist to maximize volume and definition. Here’s the mohawk element: use a bit of strong-hold gel or styling cream to smooth the hair on the sides of the head flat against the scalp, creating sleek side sections. Leave the middle section (from forehead to nape) with all its twist-out volume standing up and out. You can create this center section as wide or narrow as the costume requires.
Pin or clip the smoothed side sections back, securing them flat against the head. The contrast between the flat sides and voluminous center creates that classic mohawk silhouette without any cutting, shaving, or damaging styling techniques. For extra drama, you can apply temporary color spray to just the center section in bright or dark colors depending on the character. This style celebrates the incredible volume and texture that coily hair naturally creates while working within a protective styling framework. At the end of Halloween, you simply release the pinned sections and you’re back to a full twist-out style without any awkward growing-out phase.

Post-Halloween Hair Recovery for Curly Kids
The Gentle Takedown Process
The way you remove Halloween hairstyles matters just as much as how you created them. Never rush this process, even when your exhausted child just wants to get to bed. Start by carefully removing all accessories, working from the ends of the hair upward. Take out bobby pins by sliding them out in the same direction they went in, never yanking or pulling against the hair’s grain.
If your child wore a wig, remove it slowly, checking for any caught hairs before pulling it completely off. Remove the wig cap just as carefully. For any braids, twists, or other secured styles, unravel them gently, working from end to root. If you encounter resistance or tangles, stop and apply a detangling spray or a bit of conditioner to that spot, then wait a moment before continuing. Forcing through tangles causes breakage that you’ll regret the next day when you see the damage.
Once all styles and accessories are removed, assess the hair’s condition. Does it feel dry? Product-heavy? Tangled? Your approach to washing will depend on this assessment. If the hair is relatively clean and just needs moisture, you might skip shampooing and go straight to a co-wash (washing with conditioner only). If you used heavy gels, sprays, or temporary colors, a gentle clarifying shampoo might be necessary. The key is matching your cleansing intensity to what the hair actually experienced during Halloween.
Deep Conditioning After Product Buildup
Halloween often means more product than usual: holding sprays, temporary colors, glitter, gel, mousse, and other styling products that kept the look intact through hours of activity. All of this needs to come out, but the removal process shouldn’t strip the hair of necessary moisture. After shampooing, apply a generous deep conditioning treatment, focusing on the mid-lengths and ends where product tends to accumulate and where hair is most fragile.
For wavy kids, a lighter deep conditioner that won’t weigh down the pattern works best. Look for protein-moisture balanced formulas that strengthen without heaviness. Curly-haired kids benefit from rich, creamy deep conditioners with natural oils and butters that restore bounce and definition. Coily hair types often need the most intensive treatments after Halloween because their hair structure makes it harder for natural moisture to travel down each strand, and the evening’s activities may have dried it out significantly.
Let the deep conditioner sit for 15-20 minutes, covering the hair with a shower cap if possible to create warmth that helps the treatment penetrate. During this time, you can gently detangle using a detangling with a Denman brush or wide-tooth comb, working in small sections and always starting from the ends. Rinse thoroughly with cool water to seal the hair cuticle, then apply a leave-in conditioner and your child’s regular styling products. Consider putting the hair in a simple protective style for the next day or two to give it a break from manipulation while it recovers.
When to Seek Professional Help for Tangles or Damage
Sometimes despite your best efforts, Halloween creates hair challenges that need professional intervention. If you encounter matting that doesn’t respond to patient detangling with conditioner and gentle finger-work, don’t keep forcing it. Continuing to pull and manipulate severely tangled hair can cause more breakage and damage. A professional stylist experienced with textured hair has specialized tools and techniques for working through difficult tangles without causing trauma to the hair or your child.
Similarly, if you notice significant breakage, unusual shedding, or patches where hair seems damaged or altered after Halloween, a professional assessment can determine whether this is temporary stress shedding (which will resolve on its own) or damage that needs corrective treatment. Sometimes adhesives from costume accessories, particularly wigs or face paint that migrated into the hair, can be difficult to remove at home without the right solvents and techniques.
You should also consider professional help if your child experiences scalp irritation or discomfort after Halloween. Allergic reactions to costume makeup that touched the hairline, irritation from tight styling, or sensitivity to temporary color products can all cause scalp issues that benefit from professional evaluation. Most of these situations resolve quickly with proper treatment, but trying to handle them yourself with internet remedies can sometimes make things worse. When in doubt, consult a professional stylist who specializes in curly and coily hair, or check with your pediatrician if you have concerns about scalp health.
Frequently Asked Questions
Can I use regular Halloween hairspray on my child’s curls?
Most regular hairsprays contain high amounts of alcohol that dry out curly hair and create crunchy, difficult-to-refresh texture. If you need holding spray for a Halloween style, look for curl-specific products that offer hold without alcohol, or use a very light mist of regular spray only as a finishing touch. Better options include curl-defining gels or mousses applied to damp hair before styling, which provide hold while maintaining moisture and can be refreshed the next day.
How do I prevent my child’s natural hair from getting damaged under a costume wig?
The protective base is everything. Create flat braids, cornrows, or wrapped braids that lie smooth against the scalp. Use a silk or satin wig cap (or put a satin scarf under a regular wig cap) to minimize friction. Apply a light oil to the hairline and any exposed hair before putting on the cap. Keep wig-wearing time to a minimum, removing it as soon as the main Halloween activities are done rather than leaving it on all day.
My toddler has very short curly hair – what are the easiest Halloween options?
Short curly hair is perfect for accessory-based costume looks. A themed headband (animal ears, character pieces, crowns) paired with the child’s natural curl pattern works beautifully. You can also use temporary hair color in small sections, create a tiny top knot or two, or simply enhance the natural curls with a bit of curl cream and let them shine. Sometimes the costume outfit does all the work and the hair just needs to look healthy and cute rather than elaborately styled.
Are temporary hair colors safe for curly kids?
Temporary hair colors vary widely in formulation. Look for wash-out products specifically labeled for children, which typically have gentler ingredients. Chalk and spray-on colors tend to be drying, so apply them only to the sections you want colored rather than all over, and plan for extra conditioning afterward. Test any product on a small section first if your child has sensitive skin. Avoid anything that requires bleaching or permanent processing, regardless of what the costume inspiration picture shows.
How can I make sure my child’s Halloween hairstyle lasts through school parties and trick-or-treating?
Start with completely dry, well-styled hair rather than rushing a damp style. Use protective styling techniques (braids, twists, puffs) as the foundation, then add removable accessories for visual impact. These structural styles hold up much better than loose styles that depend solely on product. For loose curl styles, use slightly more hold product than normal (but not so much that hair becomes crunchy). Keep a small emergency kit with extra bobby pins, a comb, and a travel-size styling product for quick touch-ups between activities.
What if my child wants a costume that traditionally requires straight hair?
First, question whether that’s actually true or just an assumption based on seeing mostly straight-haired versions. Many costumes can be reimagined with curly hair in ways that look amazing and original. If the costume genuinely seems to require straight hair and your child is insistent, consider a high-quality wig over their protective base rather than using heat tools on their natural hair. Frame it as a fun costume element rather than “fixing” their hair. Alternatively, help them find a character with similar curly or textured hair to dress as instead, showing that heroes and princesses come with all hair types.
Conclusion
Halloween hairstyling for curly kids really comes down to planning ahead and honoring the natural texture rather than fighting against it. When you approach costume hair with the same protective mindset you’d use for any special occasion, you can create looks that are both festive and healthy. The night-before prep, the right base for wigs and accessories, and the gentle post-Halloween recovery process make all the difference between a fun memory and a tangling nightmare.
Your next step is simple: decide which protective base style works best for your child’s specific curl pattern and costume choice, then gather your supplies now rather than scrambling on October 30th. Take a few minutes to practice the style before the actual day so both you and your child know what to expect. Remember that the best Halloween hairstyle is one that makes your child feel confident and excited about their costume while keeping their beautiful curls healthy and protected. With these techniques in your toolkit, your curly kid can enjoy Halloween just as much as anyone else, without the hair damage and styling stress that often come with costume season.